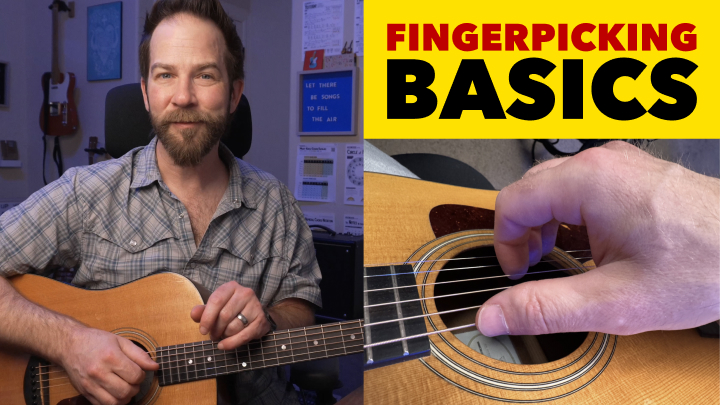
If you’re brand new to fingerstyle guitar, don’t skip this video! I begin with a zoomed-in explanation showing how to position the fingers on your picking hand (0:40). This ensures you’re able to pick each string clearly and comfortably, which sets you up for success with the rest of this course.
I also include some tips on anchoring your picking hand’s pinky, which is an optional tip some guitarists find helpful (5:34). Finally, I’ll guide you through a few basic fingerstyle exercises to get your picking hand familiar with plucking the individual strings (6:16).
A great fingerstyle first step is practicing with the E minor chord, which doesn’t require fretted fingers on strings 6, 3, 2, and 1. This allows you to do everything with your picking hand. Aim to get a consistent volume and tone from each string you pick, which may take some time.
To extend the previous exercise, you can switch between the Em and Asus2 chords. Neither chord requires any fretted notes on the strings you’re fingerpicking. In this exercise I play four measures of E minor, then four measures of Asus2. Try to keep a steady tempo if you can!
As a bit of an extra challenge, here’s an exercise that builds off the Em and Asus chords by adding a melody note on the thinnest string. You can play these melody notes with a single finger (e.g. your left index or middle). From a picking-hand standpoint, this is the exact same exercise as the previous video.
In addition to the main video above, be sure to check out lesson #302 where I do an explainer into the difference between “normal” fingerpicking and Travis-style fingerpicking. That video includes a PDF cheat sheet for you to reference as well.